Imagery can make up a large component of a website, so having optimised images is good not only for SEO, but also for the users’ experience.
- The size, filename, and tags of an image are all factors for Search Engine Optimisation – helping search engines understand what an image is about, and keeping the size of the website small so it loads quickly.
- The size and title of an image also impacts your users’ experience – large images are slow to load, and can cause the whole page to be slow (which can be very frustrating for your website visitors). Plus, your visitors are essentially downloading these images, and if they’re using mobile data this can eat away at their data.
Here are four key things that should be considered when managing the images on your website, to help improve SEO and also your users’ experience on your website.
- Image Size
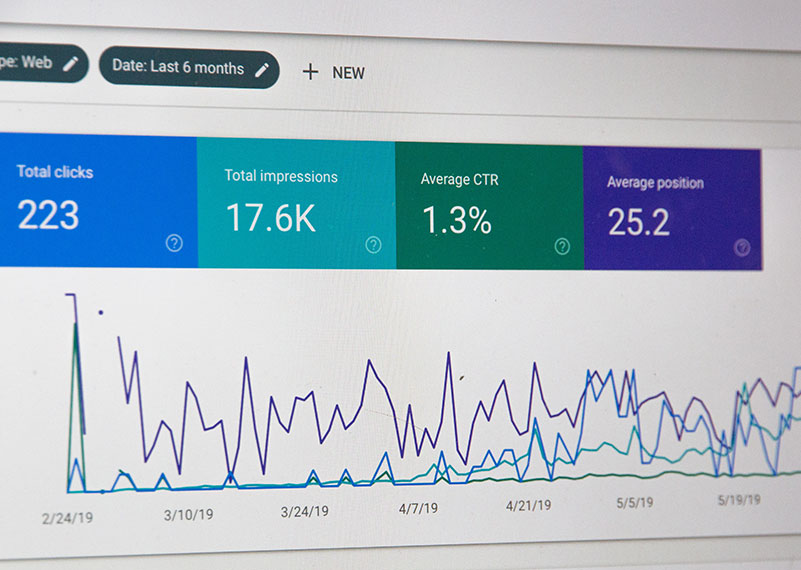
Every extra image or file that is on a website creates additional load that has to be downloaded to someone’s computer/device from the server the website is hosted on. The larger the image size is, the longer it will take to download and the longer it will take the web page to load. Not only is this frustrating for the person trying to load the website, website page speeds and load times are now an SEO issue, as it is one of Google’s ranking factors. So, it is important to keep websites light and fast.
Before images are loaded to the website, they should be resized. If an image on the web page will only be displayed at 520px wide, then it’s unnecessary to upload the image at 3,000px wide at 300 DPI (which is really meant for print). A good rule of thumb is to try and get smaller in-page images down under 100-200kb in size. For large banner-type images having them larger is fine, but still under 500kb, or as close to it as possible. These images are often displayed at around 1,920px – 2,000px, so will need to be larger. For banner images, it’s also important that the image is actually big enough for the space – if it is too small it will get stretched and then look blurry, which does not give a good first impression.
One final thing to consider is the orientation of your photos – try and make sure you choose an image that fits the space, or can be cropped to the correct dimensions. - Compression and file type
After resizing your images, sometimes they will still to be too large in terms of file size. Some images and photos retain a lot of unnecessary data within the image, which for web and screen purposes can be stripped out. Another thing to keep in mind is the file type. PNG images tend to be larger than JPGs, so unless there is a reason why the image needs to be a PNG (such as it needs a transparent background, it’s clearcut etc.), convert the image into a JPG or WEBP file.
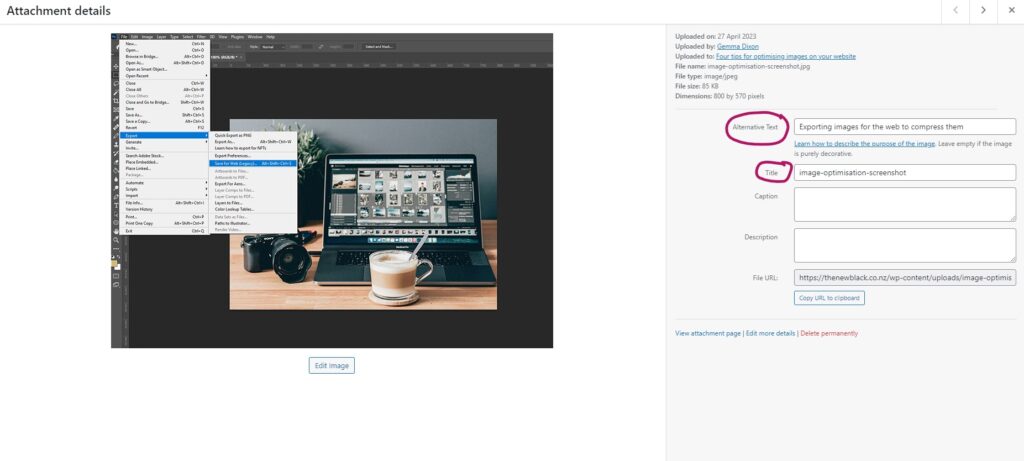
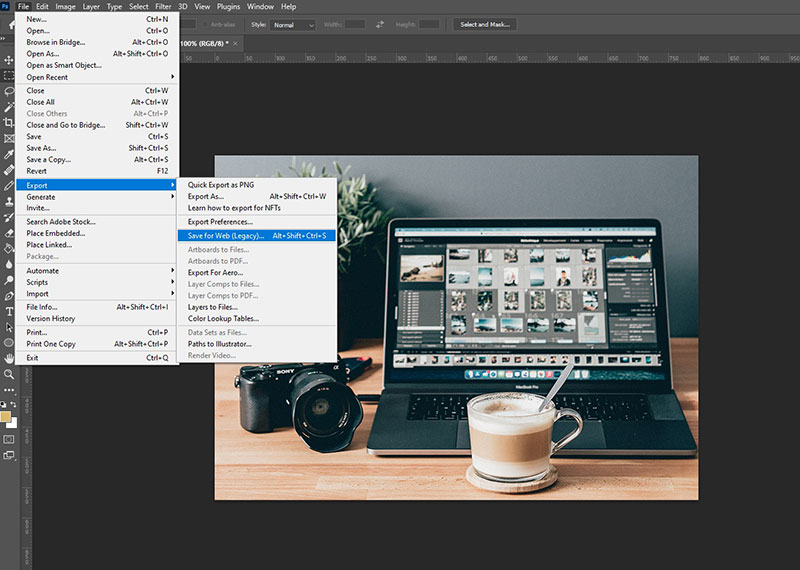
After resizing your images, it is good practice to also compress the images. There are plenty of free web compression tools out there, but the one we use is tinyjpg.com. This will strip out the unnecessary stuff and get the file as small as possible. If you have Photoshop, you can also use the ”Export for web” feature which will also compress the image, and this can also change the file type if you need to as well. - Image file name and title
Naming files correctly helps search engines understand what an image is about – search engines use the file name and the alt tag (see below) to “see” an image. A file name such as DSC_495869.jpg means nothing to search engines (or users!). However, something like blue-leather-handbag.jpg has a lot more meaning and context. Try and rename image files before uploading them to the website.
WordPress also automatically takes the file name and turns it into the image title, so this is important to keep in mind as well, especially if the title is being converted into the image alt tag. Sometimes, the image title will also appear when you hover over an image on the website – so to make it look more professional, and also make sense to your visitors, having something meaningful in the WordPress image title field is good practice. Having good image titles also makes it much easier looking for images in your media library later. You can edit the titles later, but this creates more work. - Image alt tags
All images on a website should have image alt text, which should contain a keyword rich description about the image. Search engines cannot read images, so the alt attribute is what tells the search engine what the image is about – so it is an important factor for SEO. It will also appear as a text description of the image if an image does not load in a visitor’s browser and is also used for screen readers. So, it is important that the alt tag actually describes the image, in a keyword-optimised way.
